2. Upload and Share documents
Last updated 1 day ago
2.1 Creating a file collection
Navigate to Data Manager:
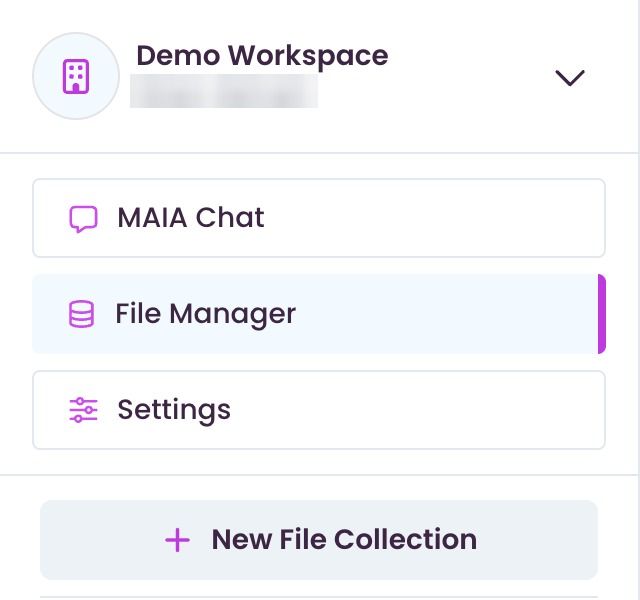
Click on ‘+ New file collection’ or ‘+ Add file collection’
In the “Add File Collection” window, enter a suitable name under “Name”:
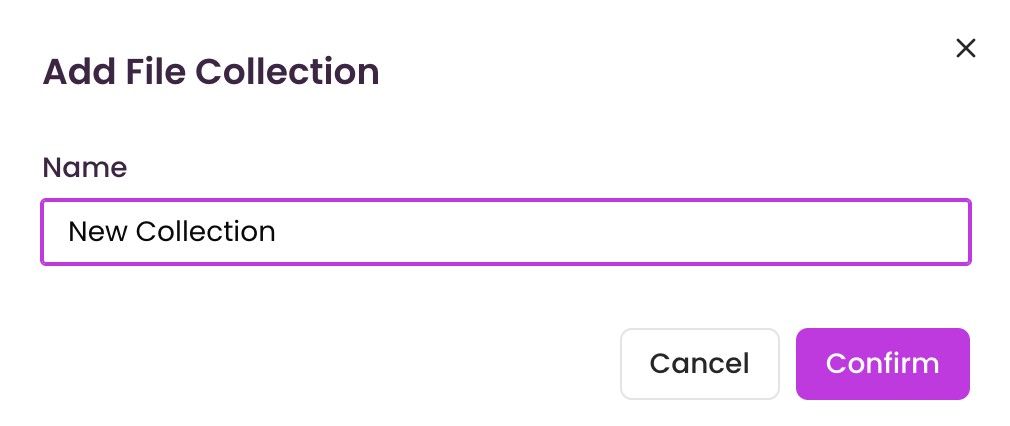
Click “Confirm”.
The collection has now been created and can be filled with files.
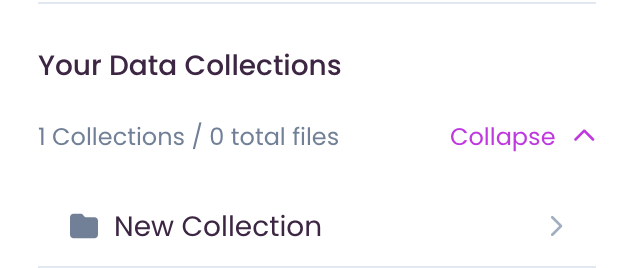
Depending on whether the file collection has been shared with the entire workspace or not, it will appear in one of the following three main categories on the left-hand side of the side bar:
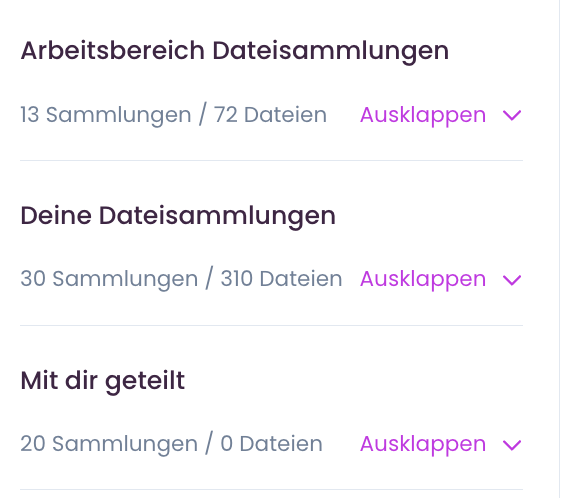
‘Shared with you’: This is where files that have been shared privately with you bilaterally via the ‘Share’ button end up.
Sharing with the whole workspace: You don't set this when you create the collection. Do it afterwards via “Share” in the “Everyone in workspace” group. See Share collections.
2.2 Upload files
Select the desired file collection.
Click ‘Upload’

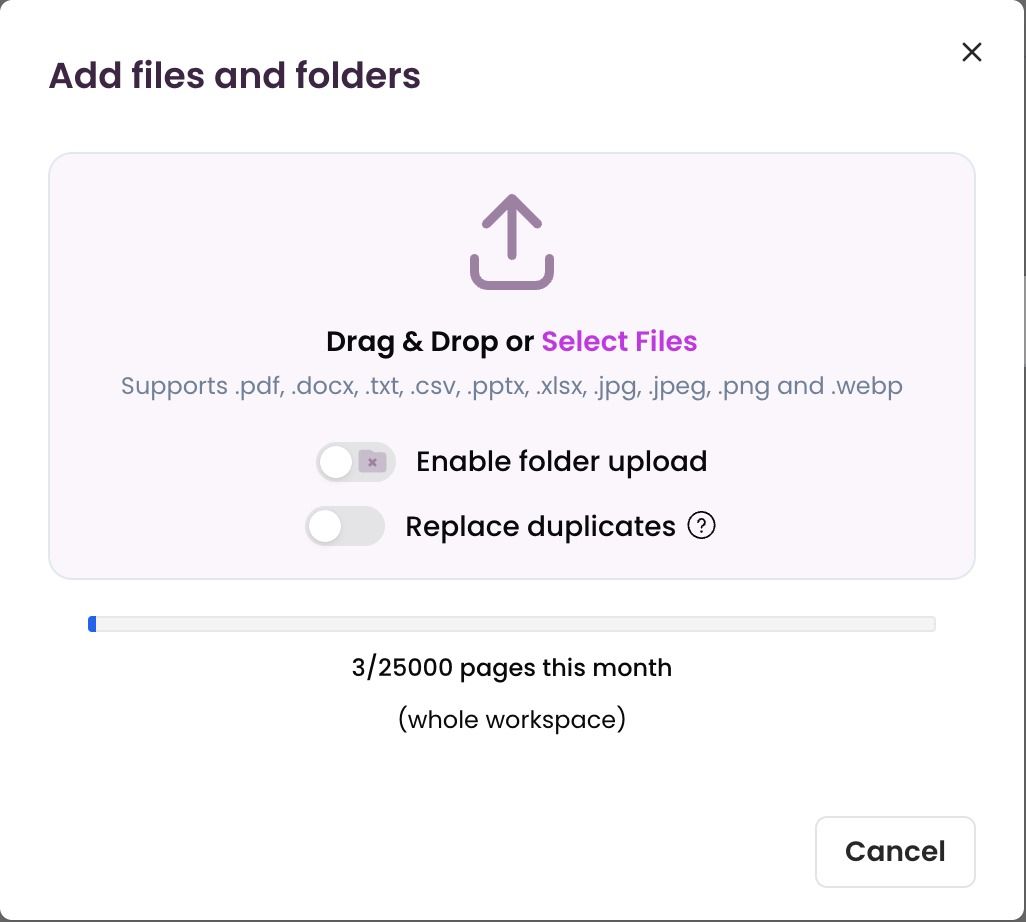
In the ‘Add files and folders’ dialog, drag & drop the desired files into the upload field or click ‘Select Files’.
MAIA supports .pdf, .docx, .txt, .csv, .pptx, .xlsx, .jpg, .jpeg, .png and .webp.
- ‘Enable folder upload’: upload entire folders. MAIA keeps the subfolder structure.
- ‘Replace duplicates’: when it's on, MAIA replaces a file that already exists in the collection with the same folder path and name. Upper and lower case count. When it's off, MAIA shows a warning, discards the new file and keeps the existing one.
Below the upload field you can see how many pages your workspace has already processed this month.
The files are now analysed by MAIA. As soon as their status is set to ‘Ready’, the uploaded files are ready to be analysed.
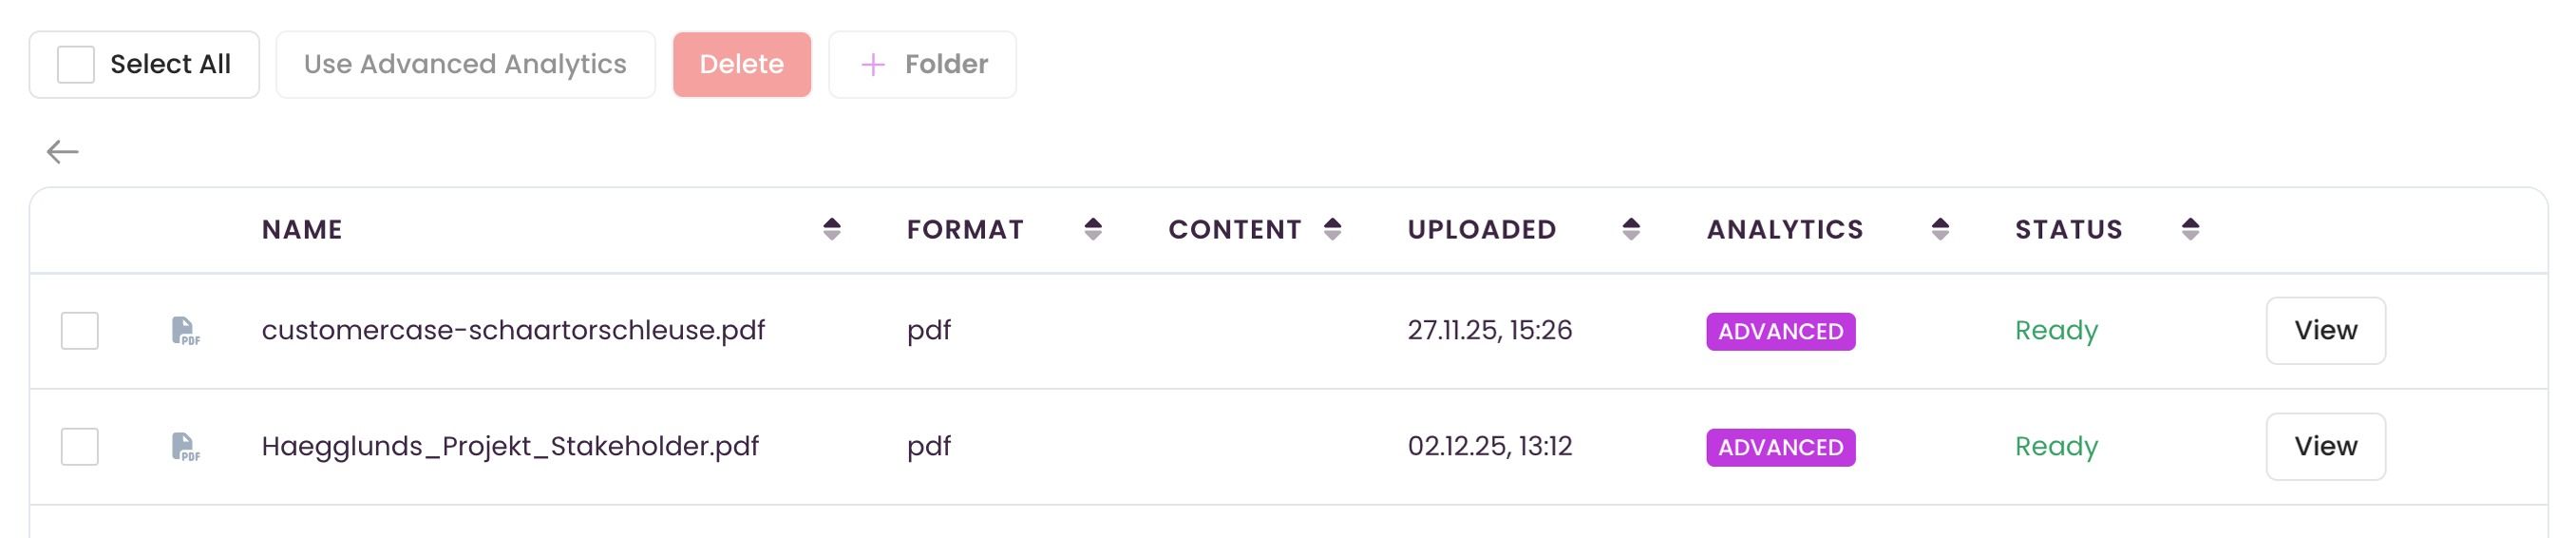
In this example, delivery notes have been uploaded. You can upload documents in these formats: .pdf, .docx, .txt, .csv, .pptx, .xlsx, .jpg, .jpeg, .png and .webp.
You can now switch to the chat and work with the documents.
Was this helpful?
Still need help? Share an idea