1. Setup workspace and add Users
Last updated Over 1 year ago
1.1 Setup workspace and add Users
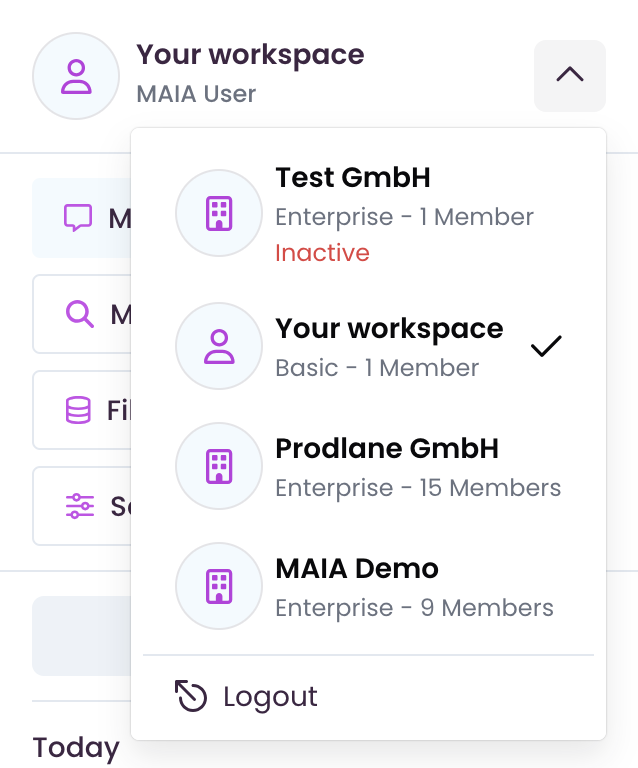
1.1.1 Select workspace
Select your desired workspace from the workspace drop-down menu.
1.1.2 Name workspace (relevant for Admins and Owners)
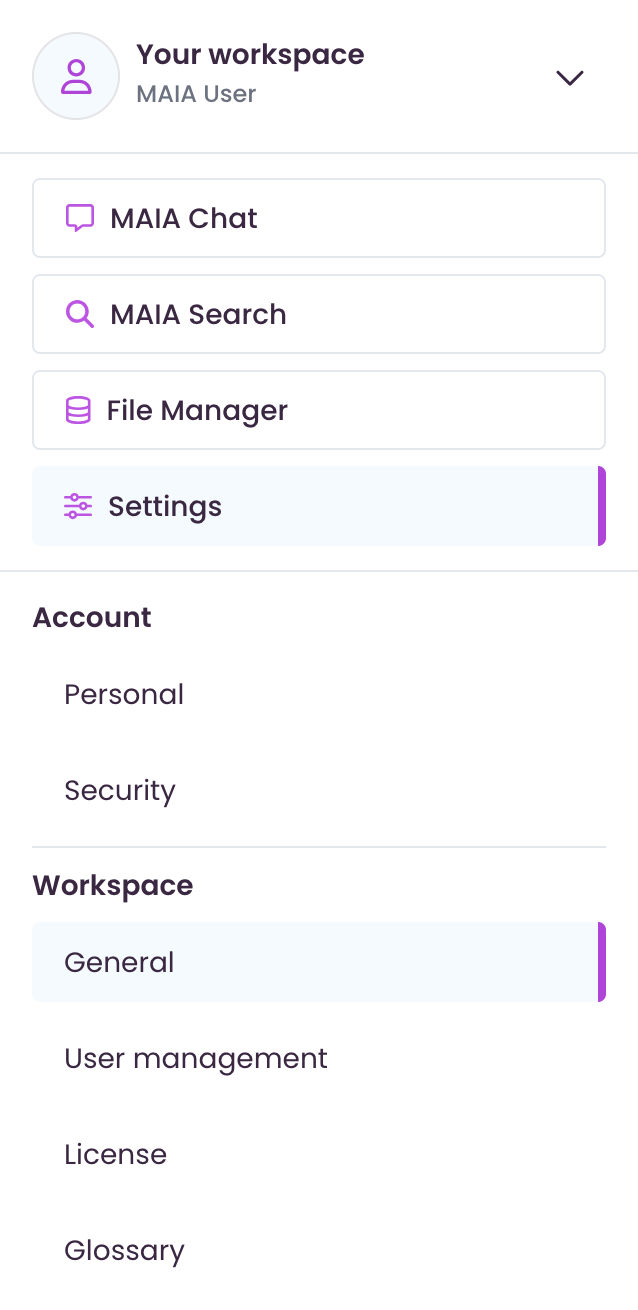
Navigate to “Settings” → “Workspace” → “General” → “Workspace name”
Enter the desired workspace name and click on ‘Save’ in the top right-hand corner.

1.2 Add Users (relevant for Admins and Owners)
There are two way to add new Users to your workspace:
1.2.1 Manual invitation via user administration
Navigate to “Settings” → “Workspace” → “User management”
Click on “+ Add User”

Enter the e-mail address of the desired user and select their role in the workspace.
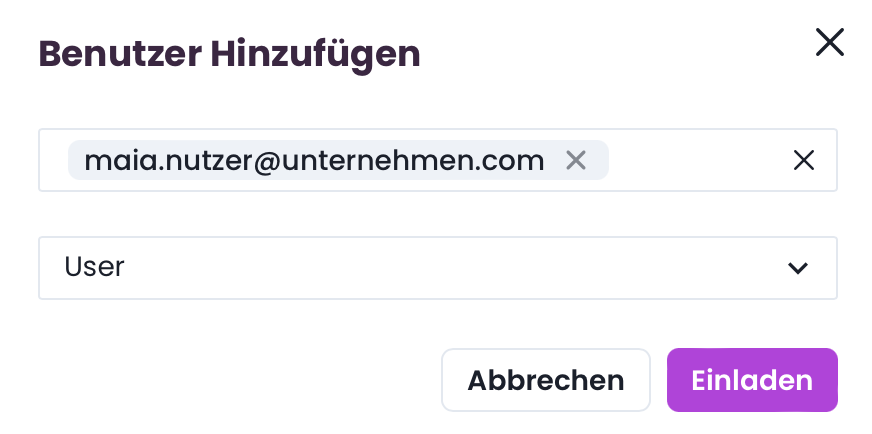
Click on “Invite”
The user is now added and can select the workspace via the workspace drop-down menu.
1.2.2 Invitation via the invitation link
Navigate to “Settings” → “Workspace” → “General” → “Invitation link”
Click on “Generate new”

The invitation link is now ready for use and can be shared with all relevant people who are automatically added to the workspace via the link.
(As soon as all persons have joined the workspace, it should be deactivated again by an admin or the owner).